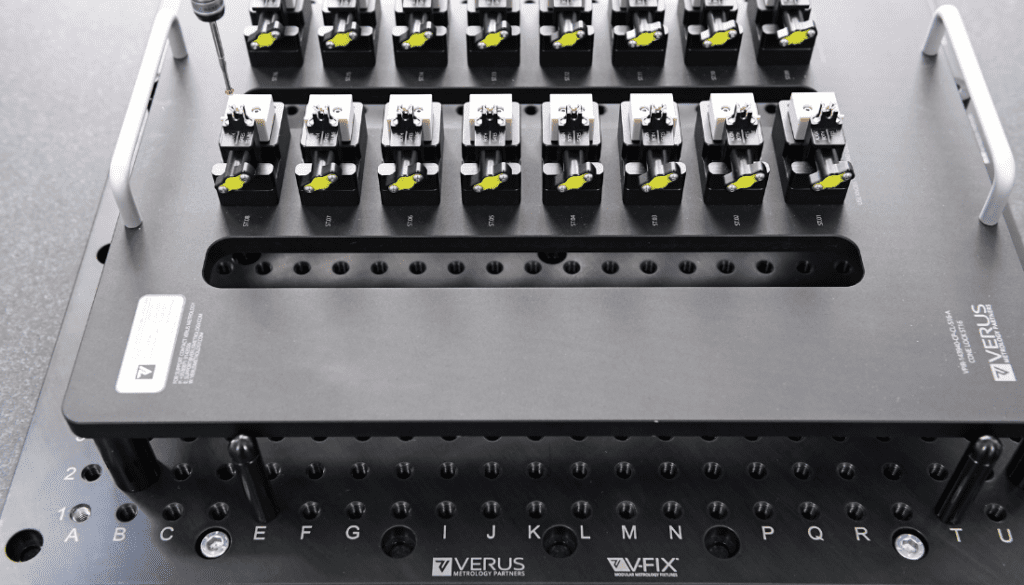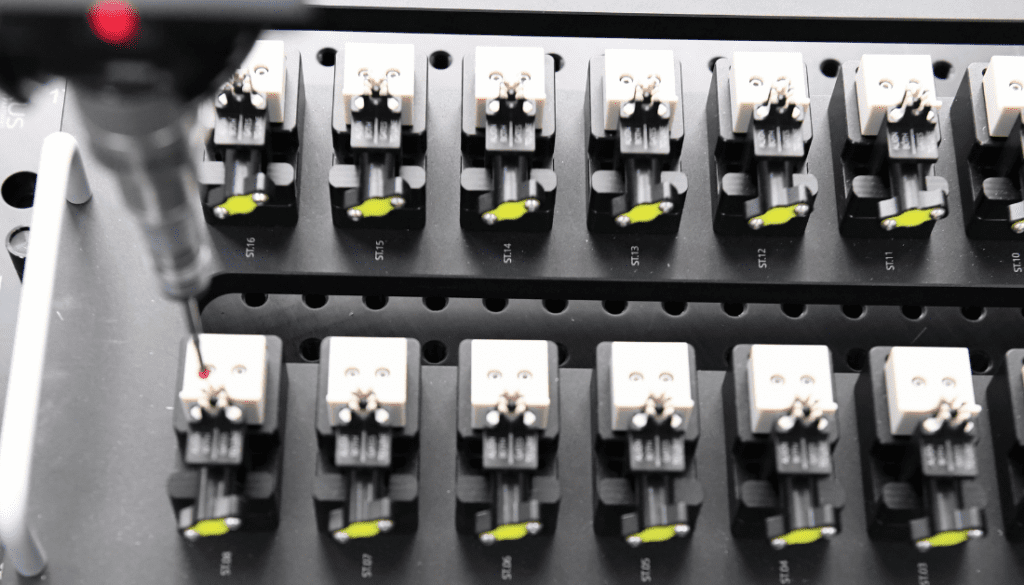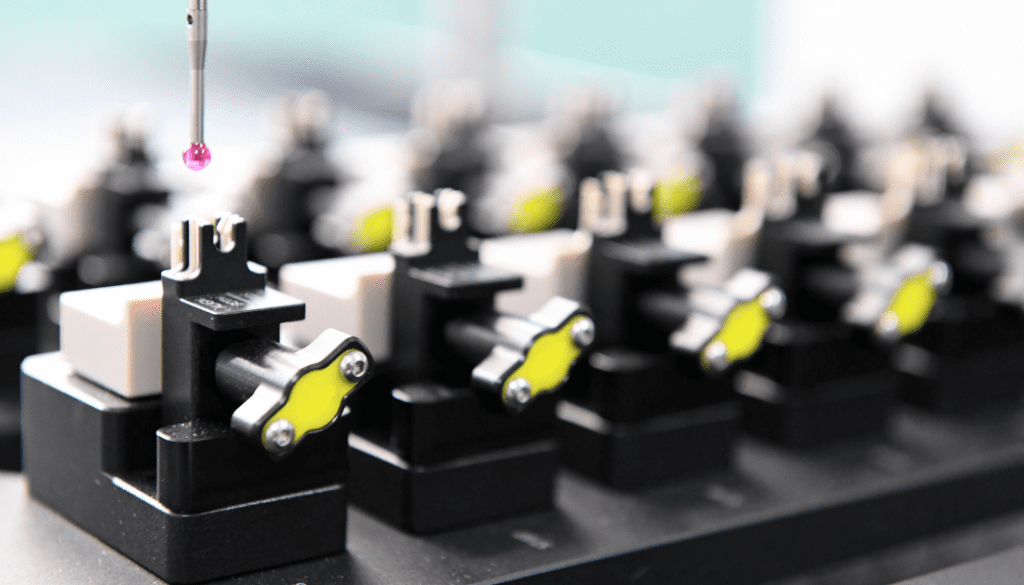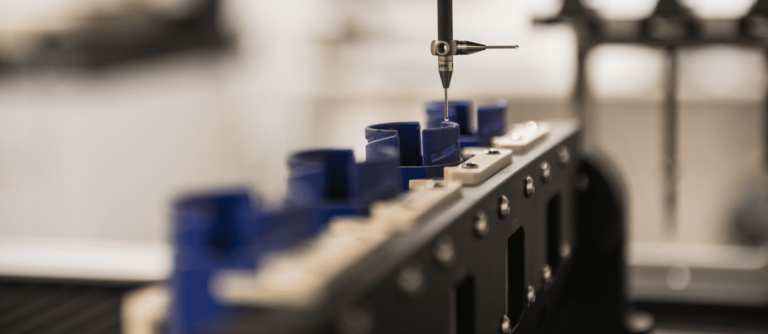
In discussing turnkey metrology processes and the streamlining of in-house measurement activity, we recently highlighted the importance of utilizing up-to-date equipment and technology when conducting part measurement. In the same blog, we examined the use of modern measurement equipment such as bespoke metrology fixturing to significantly increase the efficiency and repeatability of dimensional analysis and part testing.
However, with required measurement results often down to mere microns, just having the right measurement tools in place when conducting part measurement may no longer be enough. Equally important to medical device validation is the inclusion of experts from every area of product development. Such personnel ranges from the product designers, moldmakers and toolmakers right down to the specialists in quality testing and inspection. But why is this so important? There are several benefits to interdepartmental collaboration when completing part testing and inspection. Most importantly, including experts from these vital areas of production not only helps to address metrological issues that require a joint approach by everyone involved in getting the product to market, but their inclusion also encourages a transfer of knowledge between departments. Such knowledge can prove invaluable to future developments as we learn from and improve on each project.
Here at Verus, we have increasingly witnessed such benefits when working with our client portfolio. We have seen first-hand the positive outcomes that have emerged from taking a more collaborative approach to measurement challenges. Hence why we have spent time developing our very own collaborative measurement process, namely The Verus Metrology Workshop.
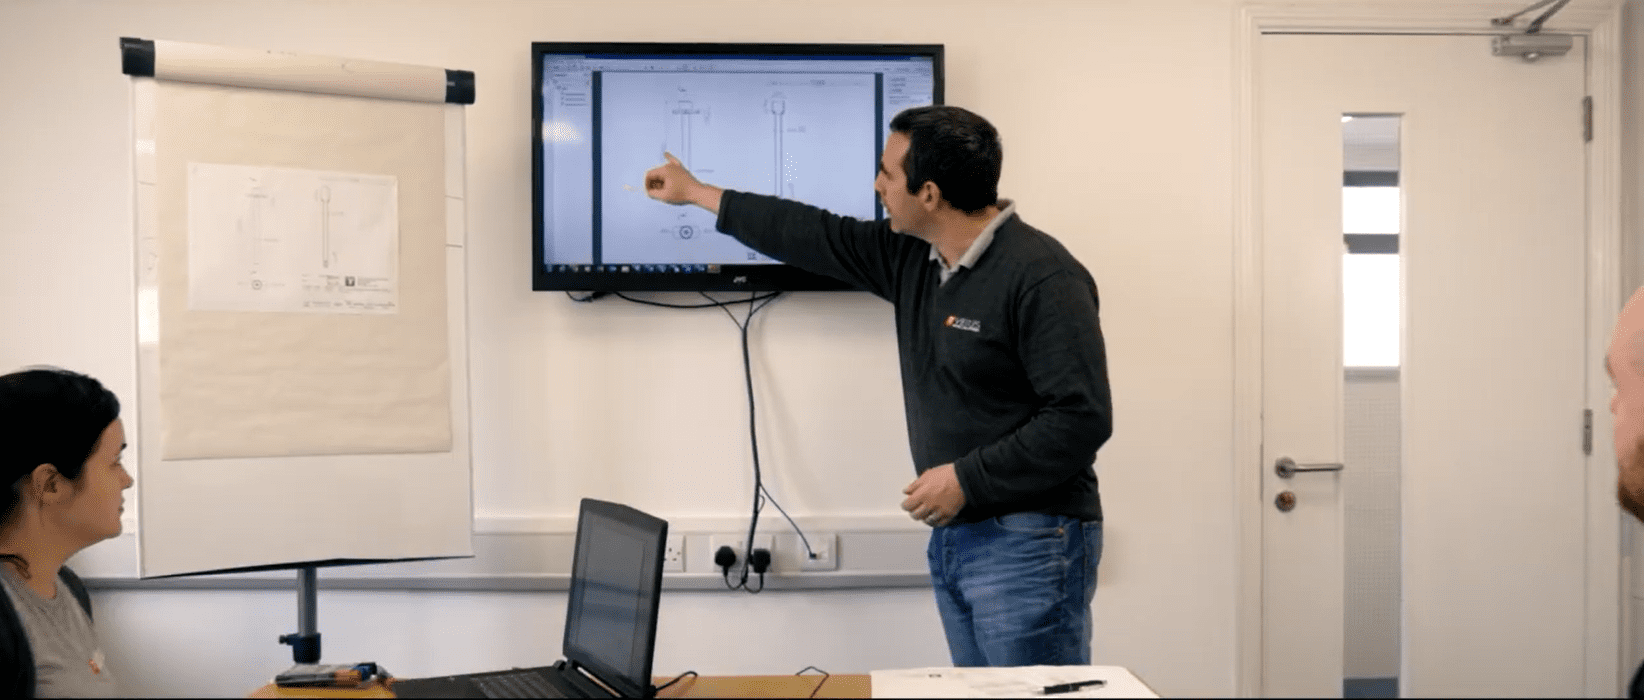
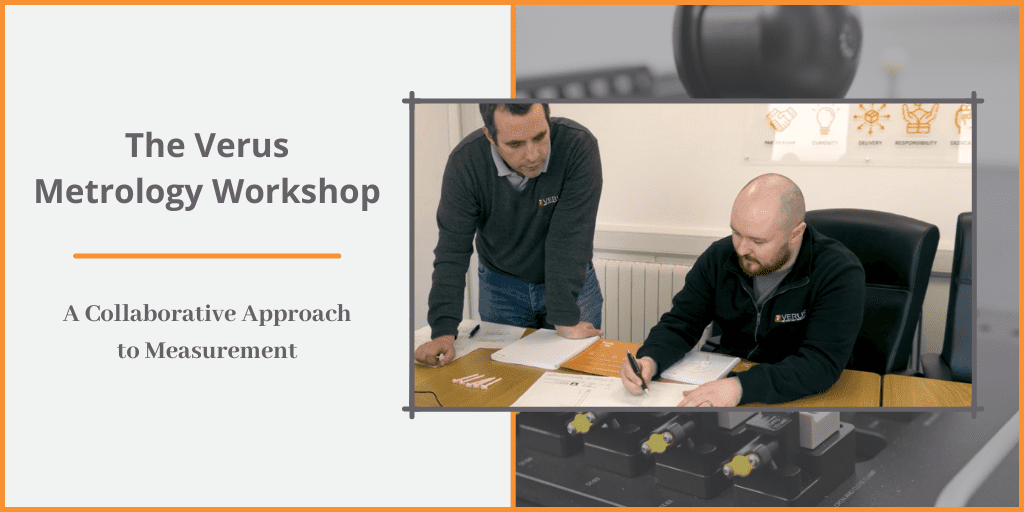
The Verus Metrology Workshop
The metrology workshops we offer clients are there to make what is deemed immeasurable in one way, measurable in another. When we get asked to measure client components, we often find that what they are looking to measure and what can be measured are two very different things. On other occasions, we might receive little information on critical elements such as datum locations, GD&T allocations and tolerancing. Therefore, the Verus Metrology Workshop will highlight the critical factors required to achieve accurate measurement data. The aim here is to create an open dialog for sharing and gathering important information from all the relevant departments. So that when the product gets to the validation stage, no hiccups in terms of metrology occur.
Explaining how The Verus Metrology Workshop came to fruition, Verus COO Michael Nugent says:
Several years ago, I had a number of calls with a client in the states who was acting as a go-between amongst his design people and Verus. However, the design guys would not listen to him, or the advice given to him by Verus. I sent out an email to all the people concerned in the project with my thoughts and concerns and explanations as to why certain things could not be done but nothing would do.
So, I had a call with everyone, the design people, the tooling people, the engineering people, and the metrology people, and set up a round table discussion. It worked well, and we were able to move forward with the project very quicky. It worked so well in fact, we decided to incorporate these round table discussions into our business model, leading to The Verus Metrology Workshop. Since then, the workshops have changed slightly to what we now call a design qualification (DQ).
Our existing clients know us so well at this stage. So, our metrology workshops are mainly for our new clients. They know what to expect from us and they know what we need from them to make the project successful. Therefore, it is not as necessary to sit down and get every little detail.
When Do the Metrology Workshops Happen?
Our metrology workshops happen at the very start of each project. Essentially, our workshops are where the negotiations and compromising take place. Yes, we understand what the designers can do but, what can the moldmakers physically do, and is what they can do acceptable or do we find a workaround. So, there is a give and take aspect to it.
Typically, 90% of the requirements are there once the drawings are frozen. However, if two or three weeks down the line when the components are received and changes are needed, then we can hold another workshop to reconfirm everyone is happy with the project’s progression.
Every department plays a vital role in production. Therefore, involved in our metrology workshops are the client’s product designer, the moldmaker and their metrology engineer along with our experts in metrology and fixturing. We also appoint a project leader to ensure everything runs smoothly.
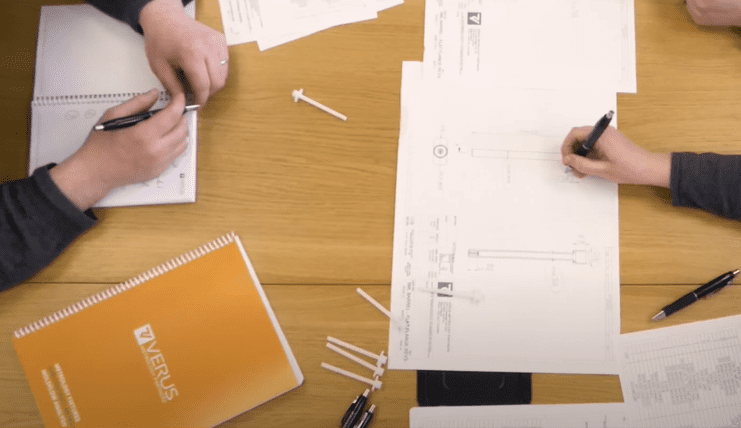
The Verus Metrology Workshop
Bringing together the experts in Design, Molding and Metrology.
What Happens at the Metrology Workshops?
Fundamentally, we will review the drawings and advise on what can be measured in a production environment and what cannot be measured. Essentially, we will advise on the dimensional callouts that are production-worthy. If it is a case of the client requiring measurements that cannot be attained, the workshop will focus on finding a solution that will closely match what is required.
One area that often comes under review is datum structures. The datum structures could be vastly hindering how you measure your parts, essentially causing more harm than good. Similarly, we will advise on tolerances and how to achieve repeatable and reproducible results.
Not only is our workshop a chance to highlight metrology best practice to our clients but also, it allows us to educate them on the additional turnkey metrology services we offer here at Verus. Often, we might be sitting down to discuss a current project with our clients when they learn that our expertise extends beyond what was initially required by them.
We put all this time, effort, and manpower into these workshops so that when clients come out the far side, there are no unknowns. Most importantly, everything works.
The Verus Metrology Workshop: The Benefits
Our metrology workshops are about making life easier for our clients. Production hates metrology as it can be so restrictive. It can cause problems; it can cause delays and it can cost a lot of money to get right. You have got to get through production as quickly as possible but, you must have confidence in the measurement data. There is no room for leeway or for maneuver on tolerances.
Discussing the benefits of our metrology workshop Michael says:

“Our workshops significantly speed up the measurement process for our clients“
When done constructively, a situation where the departments are at loggerheads over what needs to be measured will not happen.
Often, the designers want one thing, with the moldmakers looking for something completely different, and an over and back ensues. This can be a poor way of communicating and important information can get lost. Our workshops create this roundtable scenario where everyone has an input into what the deliverables are and what is possible.
Not only can our workshops save you time however, but they can also save you money. If, for example, you start to produce parts without planning the metrology stage, everything will grind to a halt and never mind the time, that will cost a fortune. Previously, clients have come to us towards the latter stages of a project looking to fix mistakes that have been made along the way and it has worked out very costly for them in terms of what they budgeted for and what they ended up needing to spend to make the project successful.
Using a real-life example, Michael elaborates:
Previously, a client quoted fixtures from various suppliers and went for the wrong option, simply because those fixtures were cheaper. Although they may have been cheaper, nothing worked. Months and months went by with a lot of problems. In the end they came to us and said ‘right, can you fix these fixtures?’ We said no, but what we can do is we can design a fixture solution that WILL work! So, what this client ended up doing was buying the wrong fixtures just because they were cheaper. Then pay us to rectify the situation, while losing out on months of production. So, it is not just time, it is the cost!”
In Summary…
Integrating advanced metrology processes with qualified specialists from the many areas of production will help to increase productivity and efficiency, enhance customer satisfaction and achieve and maintain compliance. All while keeping costs and timescales to a minimum. Furthermore, the workshops will educate clients on how to cope with advancements in technologies used every day during part testing. Sourcing the most innovative solutions to measurement challenges.
It is vital that the basics of GD&T are not misunderstood. The consequences of such can be costly in terms of both monetary value and reputation. Not only could timelines be disrupted, but the entire project could be halted should the product be deemed inadequate. Understanding the metrology and conveying the correct GD&T from the beginning results in a cost-efficient and timely manner. Even better, the product can be certified fit for purpose, leading to customer satisfaction and ultimately, a good business reputation.
Our metrology workshops aim to share knowledge and experience amongst those involved in the product’s journey to market. The result? In short, effective use of all resources and maximum impact on ROI.
To learn more about the Verus Metrology Workshop contact Michael Nugent, Chief Operations Officer on +353 (0)71 91 43506 (ext. 215) or Sean Murphy, Group Technical Operations Director on +353 (0)71 91 43506 (ext. 2). To request a quote click here. Moreover, be sure to subscribe to our NEWSLETTER to receive our technical blogs, customer updates and latest developments.

