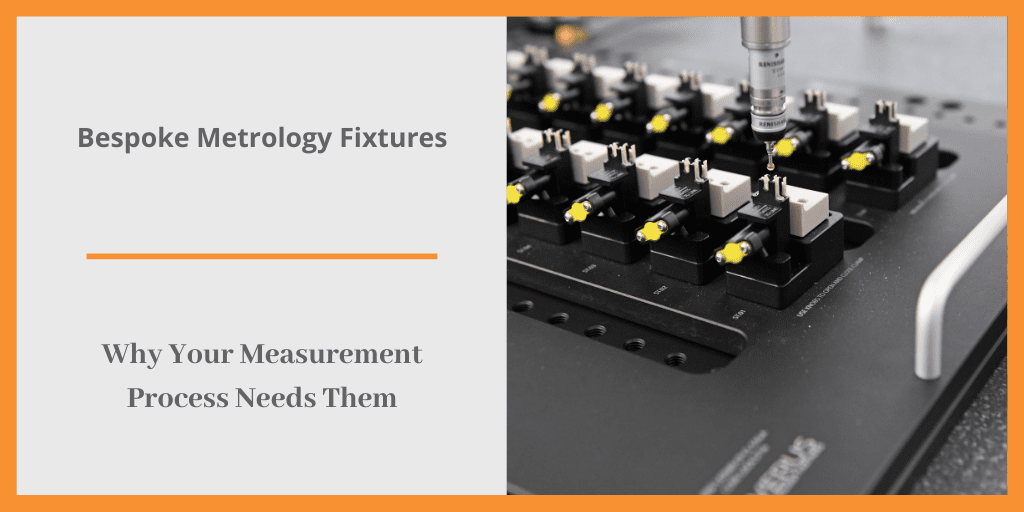
As advancements in medical technology and devices rapidly continue, it is vital to ensure your in-house production processes are fully optimised. One area of particular importance in this circumstance is part measurement or the art of metrology. What is metrology you ask? Metrology is the science of measurement. It is the process of validating and verifying the size of a particular object to a predefined standard set out by a recognised quality system in a certified metrology laboratory. More commonly used in industries such as Science, Technology, Engineering and Manufacturing, by performing metrology on an object it means you are certifying the object meets internal quality assurance standards and that it is fit for purpose.
When conducting metrology, metrology engineers, or metrologists, follow best practices such as calibrating measurement instruments and evaluating the reliability of measurement results by determining the measurement uncertainty. The latter is crucial as there are many factors that can influence measurement uncertainty such as the surrounding environment, the equipment used and even the metrology service providers themselves. More importantly, when performing metrology, the main thing to consider is to ensure the component under inspection is secured in a way that does not influence the overall measurement result. One way to achieve this is by utilising bespoke metrology fixtures.
Why Use A Bespoke Metrology Fixture When Conducting Metrology?
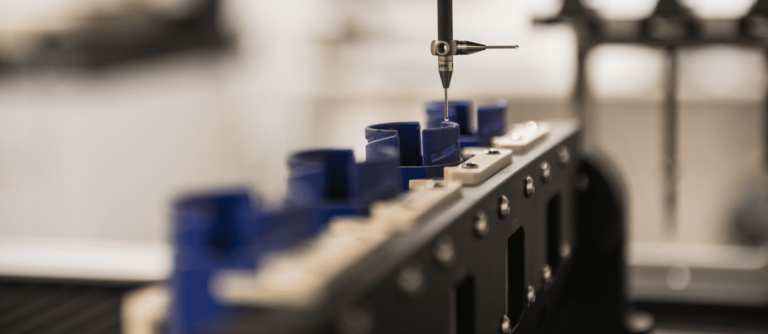
Whether metrology engineers are working with coordinate measuring machines (CMM), vision systems or any other measuring platform, the use of a component holding device is vital. As we have previously stated during a discussion on the future of metrology excellence, the aim of bespoke metrology inspection fixtures is to secure the component firmly in place without distorting it while at the same time ensuring the engineers are achieving repeated accurate measurement results. In essence, a cleverly designed metrology fixture will remove the risk of operator interference while ensuring measurement reliability.
Furthermore, the use of bespoke metrology fixturing can significantly increase the efficiency of an in-house metrology process. This is particularly evident when looking to remove common metrology challenges such as backlogs or undesirable metrology inspection results. By utilising fixtures that hold multiple components during a single measurement setup, engineers can optimise their resources to accelerate productivity.
Types of Metrology Fixtures
When tasked with components that require measurements from different angles you have the following options:
Fixed Position or Manually Rotated Metrology Fixtures
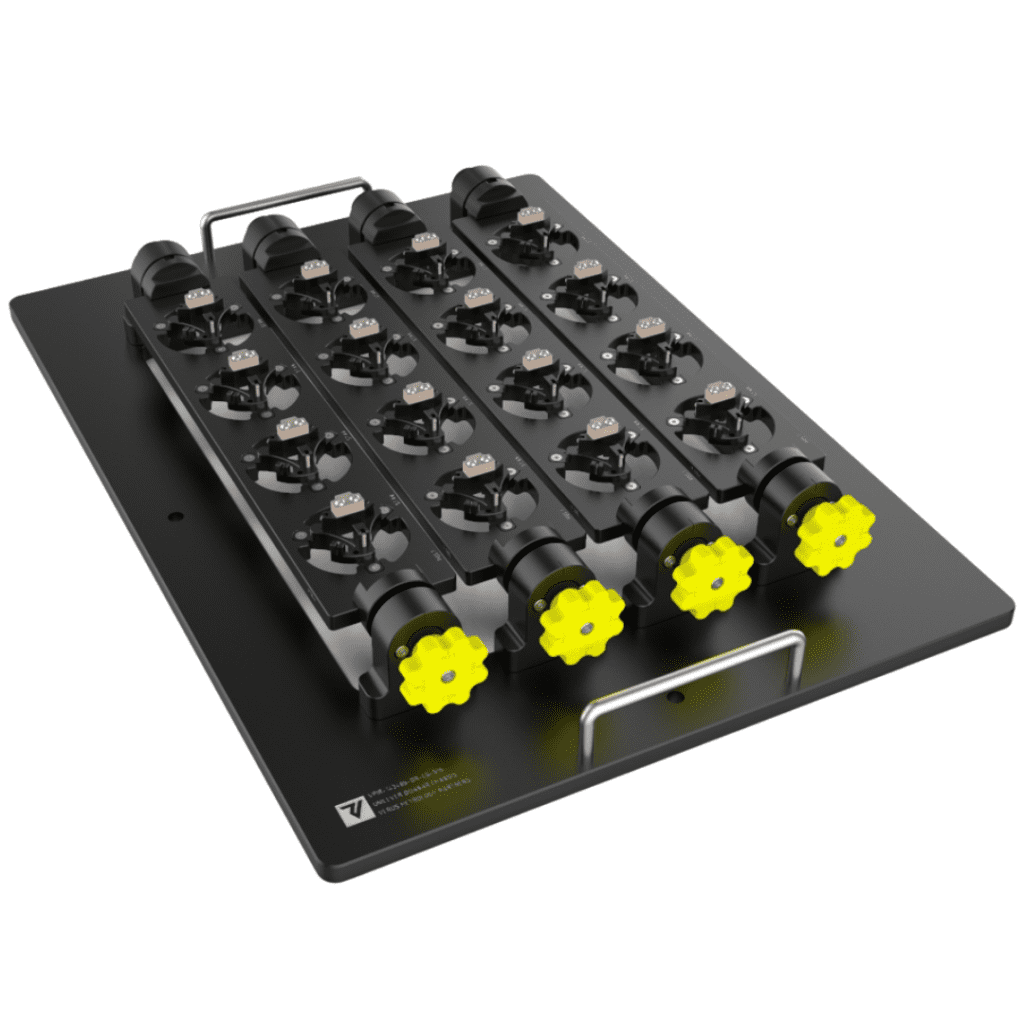
From single station to multi-station fixturing, our manually rotated metrology fixtures are designed to hold components securely in place during measurement. Capturing precise part orientation, initial concepts are developed into working theories using single-station prototypes to prove out the metrology fixture. Thusly allowing for the deliverance of an optimised fixturing solution.
Manually Rotated
Metrology Fixtures
Taking only minutes to set up, our manually rotated metrology fixtures are designed to suit most measuring machine platforms. Their capabilities allow metrology engineers to measure component features that would typically require the use of several measurement holding devices.
Automated Metrology Fixtures
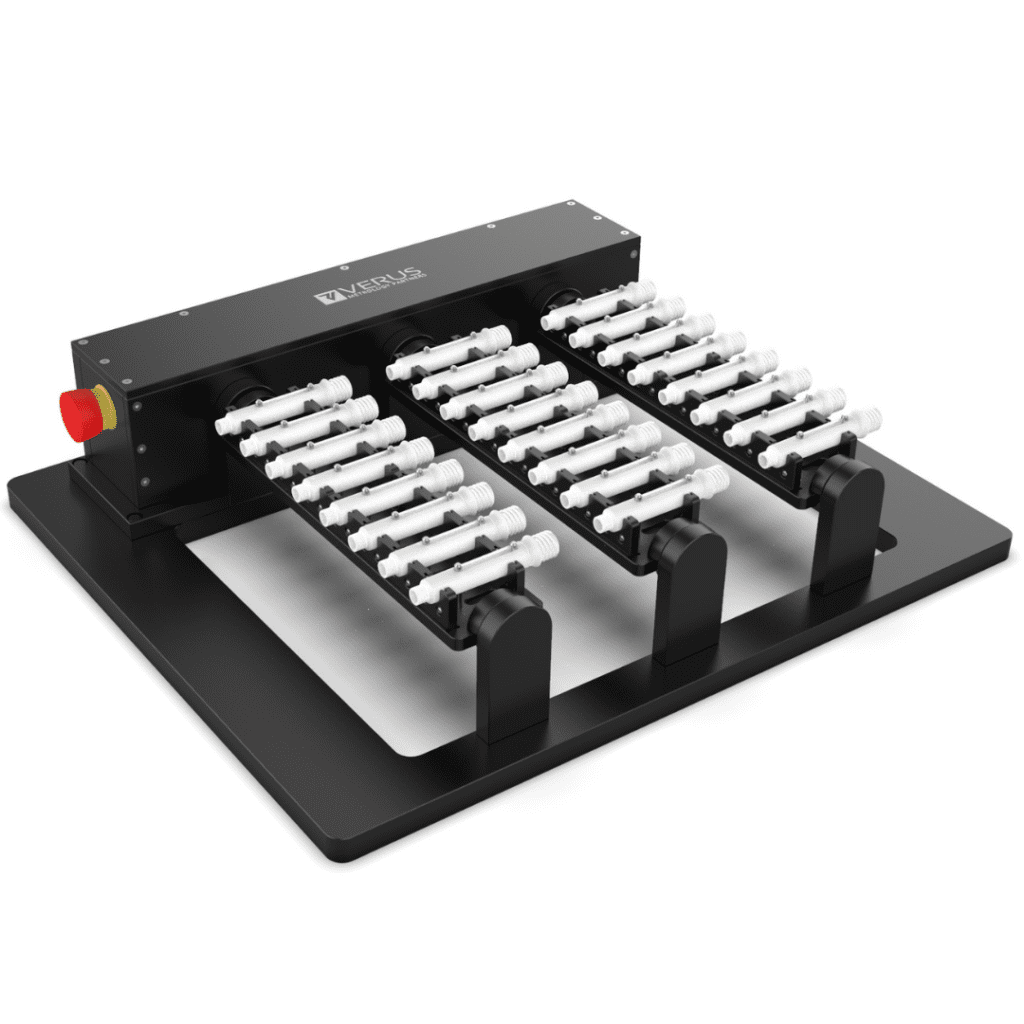
Alternatively, automated fixturing has transformed measurement activities across STEM and FMCG industries by automating the rotation of components under inspection. Securing the component while rotating it to various angles, automated fixtures remove the need to reposition the components during measurement.
Automated Metrology Fixtures
Advancing the current capabilities of our bespoke metrology fixtures through automation means metrologists can achieve multiple orientations without operator interaction. Therefore, reducing the risks of user interference and skewed measurement results.
Whether you choose manual or automated metrology features, our fixtures can incorporate singular or multiple stations. The number of stations will largely depend on various factors such as the size of the measuring machine and the number of parts under inspection.
Advantages of Using Bespoke Metrology Fixtures When Conducting Metrology
Looking to maximise your metrology process efficiency? One of the first things you should consider is bespoke metrology fixturing. Bespoke metrology fixtures can provide several benefits to your in-house measurement process including streamlined in-house productivity, measurement repeatability and reproducibility and part positioning.
Streamlined In-House Productivity
The use of bespoke metrology fixtures can help to significantly streamline your in-house productivity levels in several ways.
Increasing the number of components in one measuring setup using multi-station metrology fixtures results in less downtime. This boosts throughput by enabling engineers to work on other projects, speeding up internal processes and optimising overall productivity. Furthermore, CMM’s have the capacity to measure several components at once. However, engineers often must measure components one-by-one due to a lack of resources or manpower. Consequently, the loading, unloading and reloading of components is time-consuming and can lead to component damage or distortion. Such occurrences will ultimately lead to dimensional failures. Therefore, by adding bespoke metrology fixtures to the mix allows for the inspection machines to work at full capacity, maximising your ROI and JIT delivery through faster batch approval and the overall efficiency of your metrology machine.
Further benefits include reductions in waste due to faster batch fault identification and minimisation of product damage through non-destructive investigations.
Employing the use of bespoke metrology fixtures during your measurement activity will almost certainly have an impact on your measurement results, resulting in high accuracy and saving you ample amounts of time and money.
Measurement Repeatability and Reproducibility
Bespoke metrology fixtures secure the component in place with minimal force to ensure measurement repeatability and reproducibility.
A crucial ingredient to the process of metrology, measurement repeatability is extremely important when inspecting high volumes of complex geometries. An optimised metrology fixture solution will ensure engineers achieve positional repeatability during all measurement activity. This is vital as although most modern measuring machines can alleviate micro-alignment or minor positioning errors, large component positioning discrepancies frequently result in compromised metrology machine efficiency and skewed measurement data. Therefore, measurement fixture repeatability will ensure the non-influential removal and replacement of components during measurement activity.
Equally important, measurement reproducibility allows for increased metrology machine throughput. Built to suit the specific machine capacity to best optimise in-house metrology processes, the utilisation of bespoke metrology fixturing allows for the setup to be documented so that it can be recreated to exact specifications to ensure reproducibility. Furthermore, using bespoke fixturing, the components can be easily positioned into specific alphanumerically labelled holes which can then be recorded for future use or documentation.
Optimised Component Positioning
To ensure consistent measurement results, it is important the engineers have full-dimensional access. To achieve this, metrology fixtures are used to elevate the component so that the measuring probe can easily access it. Additionally, most measuring machines will have an optimum location within their capacity to ensure repeated accurate measurement results.
However, several factors can pose a challenge in receiving accurate results when you are not utilising secure holding devices. Components with challenging geometries or heavier objects can be difficult to elevate and hold securely. Therefore, engineers are at greater risk of receiving skewed results. Furthermore, due to poor quality, bulky holding devices, dimensional access can often be restricted. Hence why a well-designed metrology fixture bespoke to individual measurement requirements is a necessity to any in-house metrology process. Enhanced, precision-led metrology fixtures should allow for the maximum number of measurements to be taken with the minimum number of setups. Additionally, the fixtures should incorporate key features such as unrestricted component/probe access and optimised measuring machine capacity.
All of this is achievable with bespoke metrology fixturing, with correct consideration and application of fundamental fixturing principles.
Finally, when dealing with sensitive or highly complex components, consider utilising a loading/unloading station in addition to a bespoke metrology fixture. A loading/unloading station allows for the easy, non-contact transferring of components to and from the machine.
To find out more about our bespoke metrology fixture solutions contact Michael Nugent, Chief Operations Officer on +353 (0)71 91 43506 (ext. 215) or Jon Banner, Group Applications and Development Director on +44 (0)115 7841934. To request a quote click here. Moreover, be sure to subscribe to our NEWSLETTER to receive our technical blogs, customer updates and latest developments.

